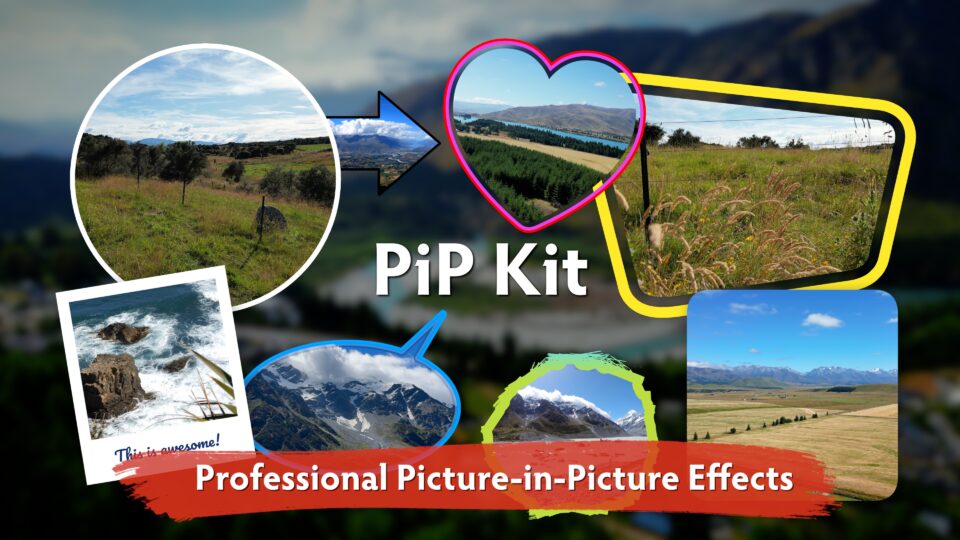
PiP Kit, from funwithstuff, is a collection of professional picture-in-picture effects for Final Cut Pro, available now from FxFactory.
PiP Kit was created by Iain Anderson, the creator of Annotator, author of Final Cut Pro Efficient Editing and an Apple Certified Trainer.
PiP Kit is packaged as Effects, not drop zones in generators or titles, so you can trim, roll, copy and paste effects, and save effects presets just as you can with any regular clip. To get started, just drag one of the effects to one of your clips, and start tweaking the settings.
As well as a solid border color, you can use a gradient or outline gradient. Position the outline centered on the edge, the inside or outside, or use the Outline Offset to make something original. Remove the border entirely or leave just a shadow with the Fade Outside slider.
You can scale a PiP up from nothing, at a choice of speeds (Fast, Medium, Slow), or scale down from a full-screen shot to reveal a clip underneath. PiP Kit also includes a special set of transitions that only affect the connected picture, ignoring the background.
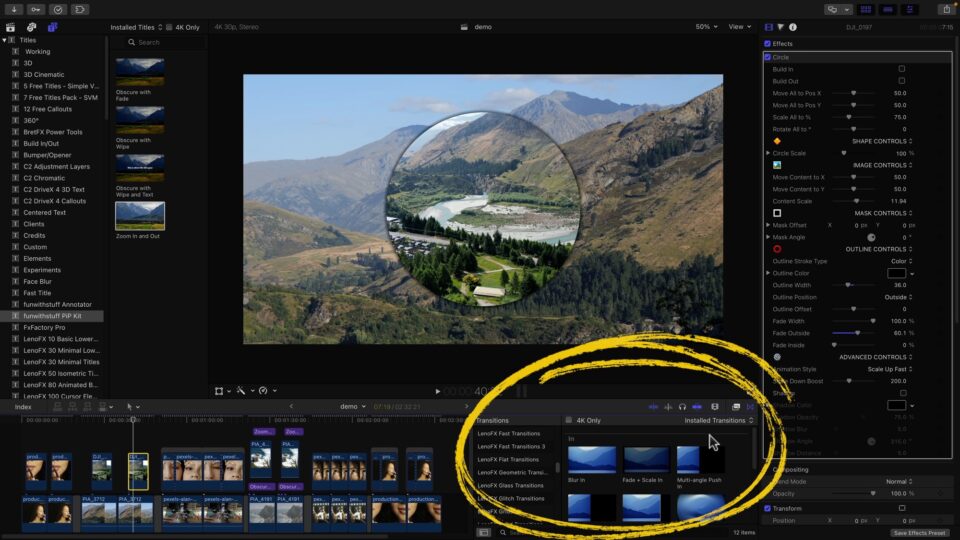
To use these, turn off the built-in transitions by unchecking the Build In and Build Out, then look in the transitions browser to find funwithstuff PiP Kit. These transitions have to be applied to the correct “in” or “out” side of a clip to work properly, but they do allow you to customise the way a clip enters or leaves the frame.
PiP Kit also includes several adjustment layer titles that change everything below them, and uniquely, these adjustments fade in and out. You can use the Obscure effects to apply your choice of blur, gamma, brightness, vignette and crystallize, which fade in and out with controllable speeds. Use the fade or wipe variants just above your background clips to make your picture-in-picture clips really stand out.
The last adjustment layer enables a very popular trick: punching in and out smoothly. Add the Zoom in and Out title, trim it to where you want the zoom to happen, then customise the speed. Easy, and useful even if you’re not using a Picture in Picture effect.
Tips and Tricks
1. Outline Removal and fading
To completely remove the shape’s outline, set either the Fade Inside or Fade Outside to 100. There’s an optional shadow there if you need it, too. Most of the time though, you’ll want to leave the border visible, and if you set the border to black, you can create a strong shadow effect by turning down the Fade Outside.
2. Use the Static effects with long clips or for keyframing
If you’re working with long media, or if you want to use keyframing, use the Static (non-animated) options. Final Cut Pro can sometimes show glitches if you keyframe the regular effects, and the same problems can sometimes appear on very long clips (20 mins+). To avoid issues, the included Static effects include no built-in animations at all and are safe to use on long clips or with keyframes. The Static “square” effects can also use the on-screen controls that aren’t available with the default animated versions.
3. Animation speed and type
You can scale up from nothing, at a choice of speeds, and that’s the easy way to work. But if you want to scale down from a full-screen shot, to reveal a clip underneath, you’ll want to blade your clip where the Scale Down should happen, then apply the effect only to that second clip. You can still roll this edit with the trim tool if you want to move where the shrink-down happens. If you’ve played with the clip position and size and the edge of the mask is visible at the start, just increase the Scale Down Boost slider until it’s not.
4. Save custom presets
Because this is an effect and not a title, you can save as many presets as you like to record your favourite settings. If you want to create a split screen, or simply to make sure your circular headshot with a fancy border looks exactly the same across all your videos, just Save Effects Preset, then re-use it as much as you like.
5. Keep the content in the shape
If you make the content scale too small or move it too far, the outline will start to shrink along with the content. Just use the Spatial Conform Mode of Fill, make sure to the content fits within the shape you’ve chosen, and you’ll be fine.
6. Explore all your visual options
There are many other shapes and shape options hiding in the menus, including squircles, clouds, lots of customisable arrows, and more. When you mess with the border you can centre the border, put it inside the shape, or outside the shape. But for more control, offset the border with this slider, and move it somewhere else. This can look great, and it’s not an effect that’s been seen too often.
A simple colour works well, but you can use a gradient or an outline gradient too. Turn it on, then click on these colour boxes to access the system color picker or right-click for the quick picker. Change the position or the midpoint blend marker to finesse the look, and you’re done.
7. Sliders or numbers?
For annoying technical reasons, some of the sliders move quite quickly. For more control, either use the sliders, or hold ⌥ (Option) as you drag on the numbers.
8. Mixing aspect ratios
You can use a landscape clip in a portrait project (or vice-versa) with PiP Kit, because the effects have been designed to work with many aspect ratios. As usual with these clips, you’ll probably want to set Spatial Conform to Fill, so that your clip fills the frame. The PiP Kit effects will always be limited to where your clip is actually visible.
One exception is if you’re working with low resolution portrait images in a widescreen project, because using Spatial Conform set to “Fill” can cause these images to become soft (an FCP issue). In these cases, you may prefer to use “Fit” and move the clips around with the Transform tab in the Inspector instead.